Page 1 of 9
Rebuild of B-17F 42-3455 "Lucky 13"
Posted: Sun Jan 13, 2013 5:51 pm
by Lucky 13
Re: The start of Lucky 13
Posted: Sun Jan 13, 2013 6:25 pm
by hang the expense
Nice collection Ray.I remember coming across all that wreckage in the woods while I was still in the service back in the 80s.I'm glad you got it.
Re: The start of Lucky 13
Posted: Mon Jan 14, 2013 4:15 pm
by KnockoutDropper
Awesome start! Looks like you have a pretty sweet facility to build her in. Is that a waist gunner opening on the fuselage section with the orange stripe?
Re: The start of Lucky 13
Posted: Mon Jan 14, 2013 5:15 pm
by Lucky 13
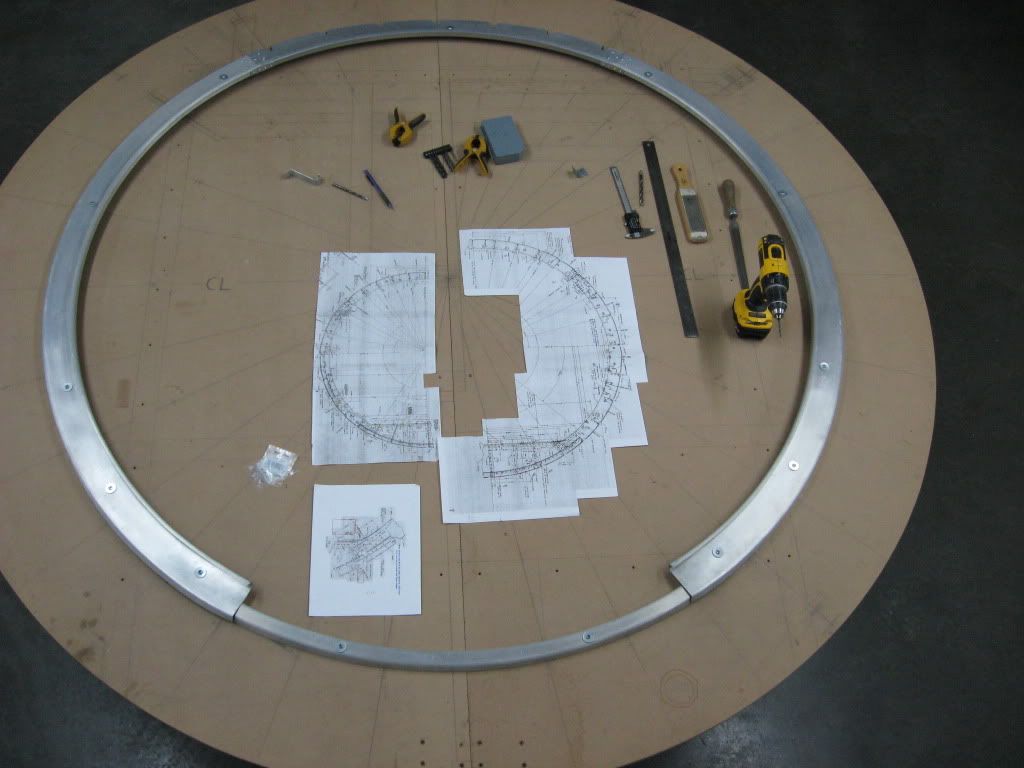
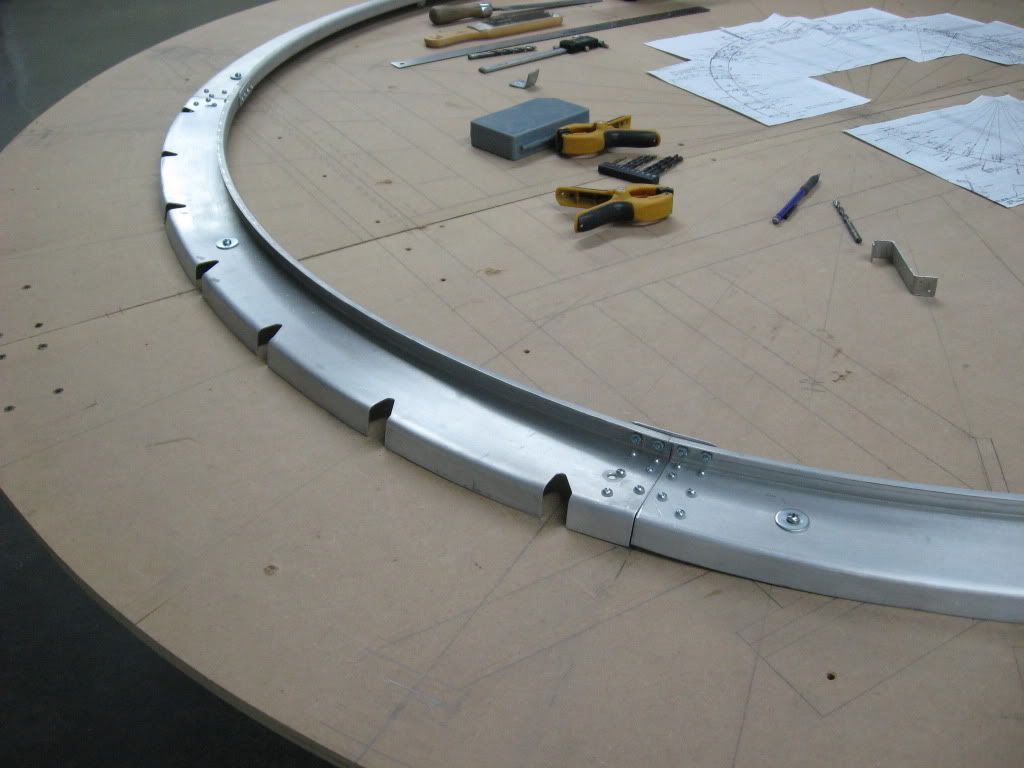
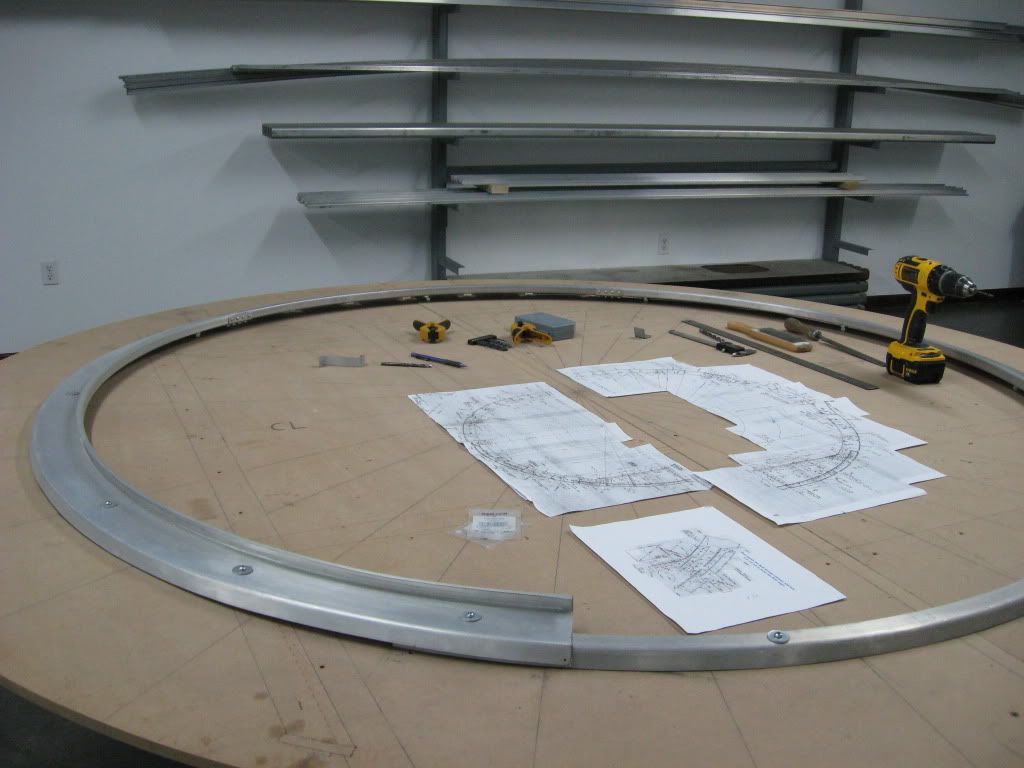
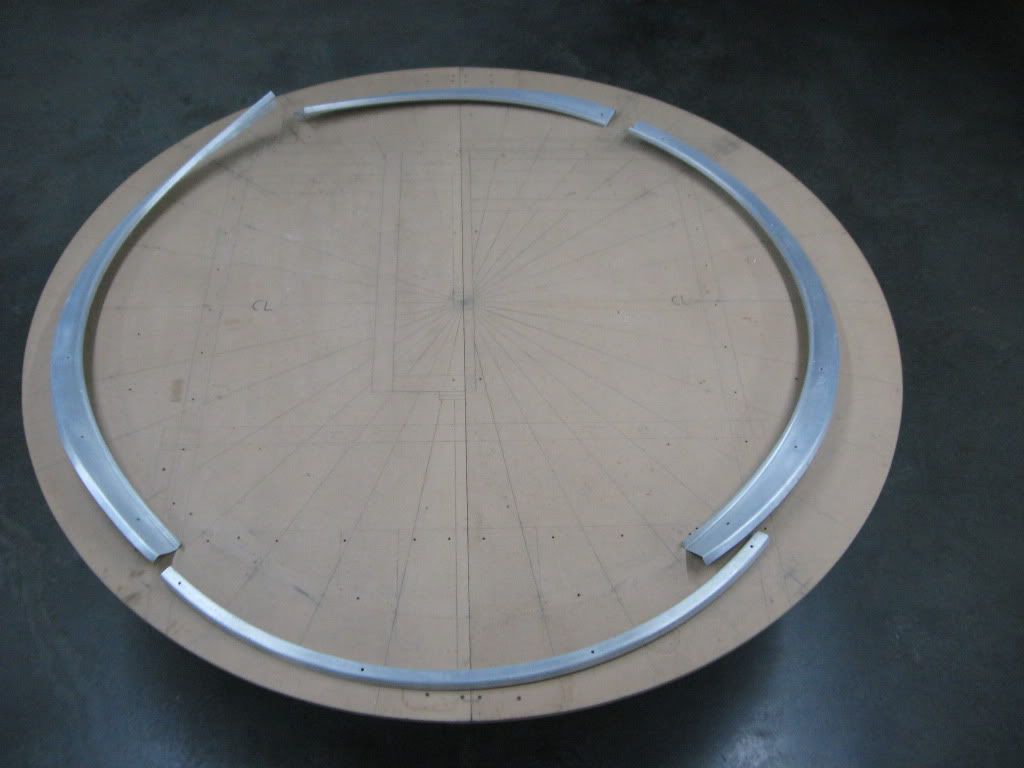
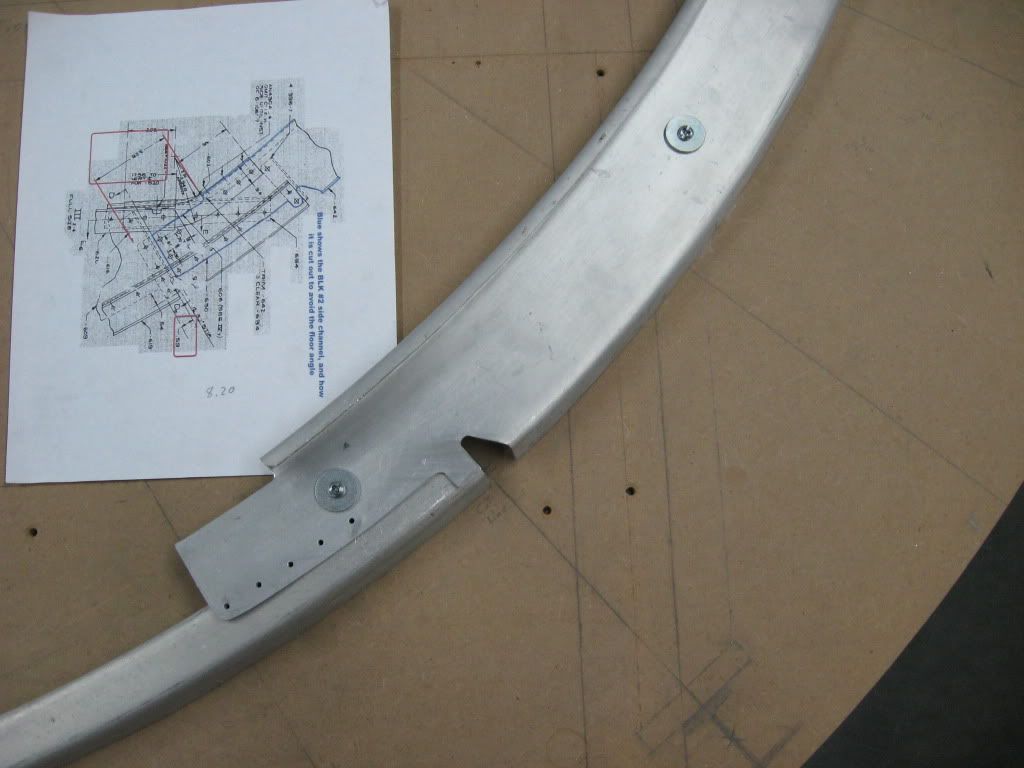
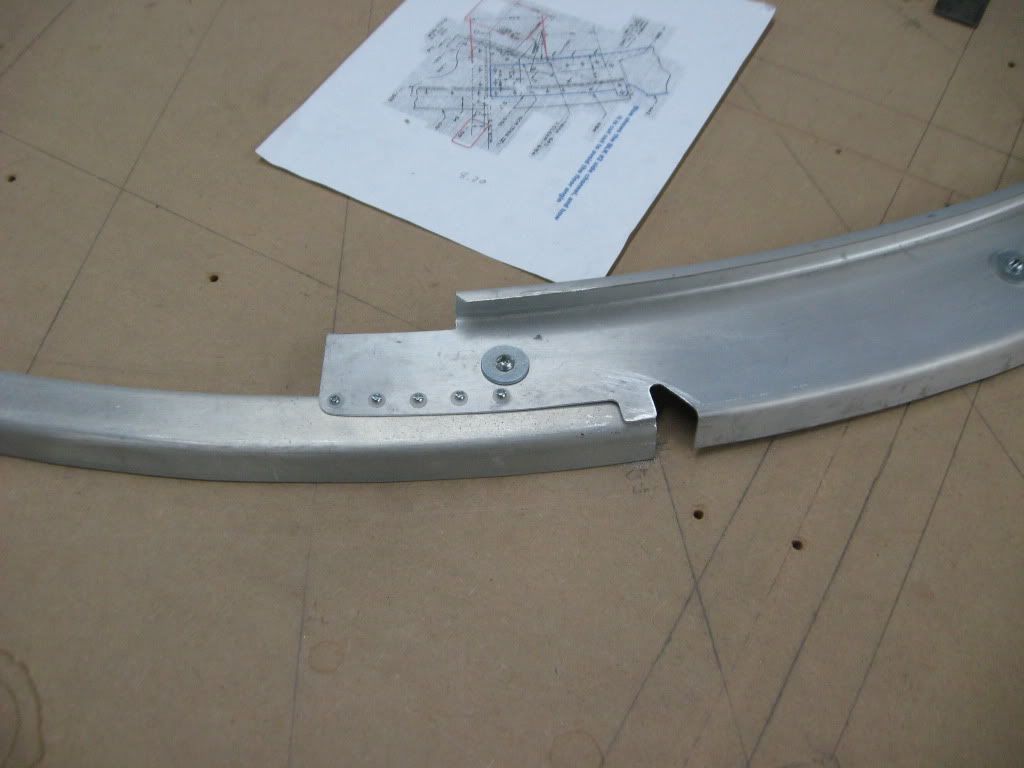
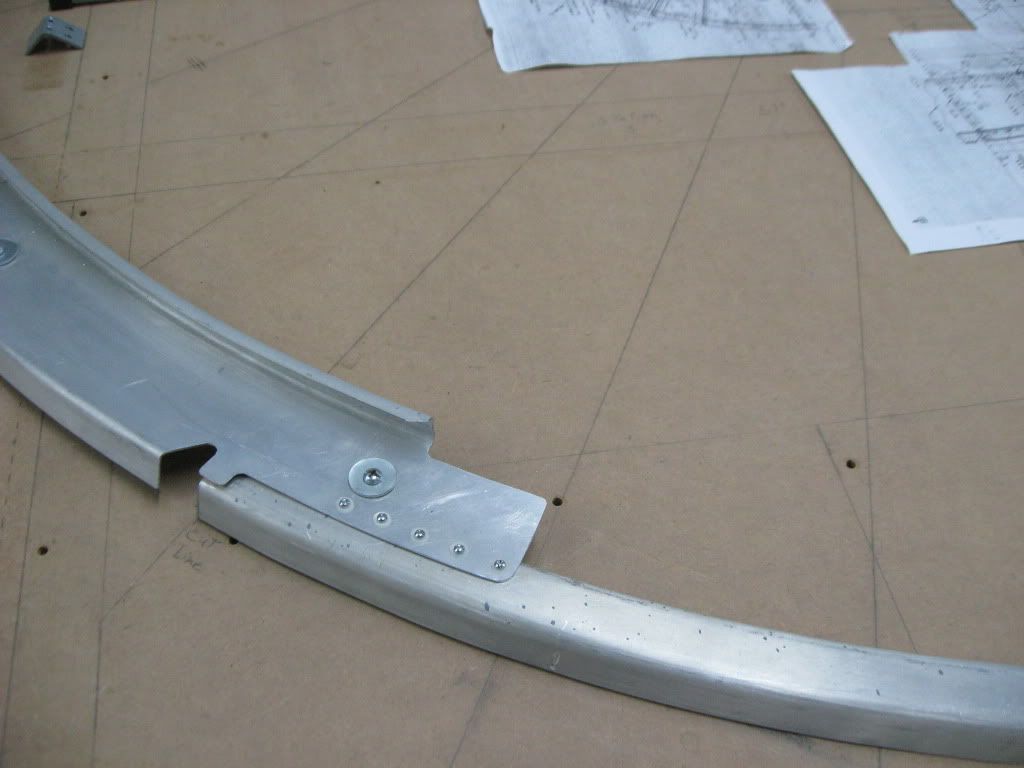
Yes and here are a few more piece's that I finish today for the jig
Re: Rebuild of B-17F 42-3455 "Lucky 13"
Posted: Wed Jan 16, 2013 7:04 pm
by Lucky 13
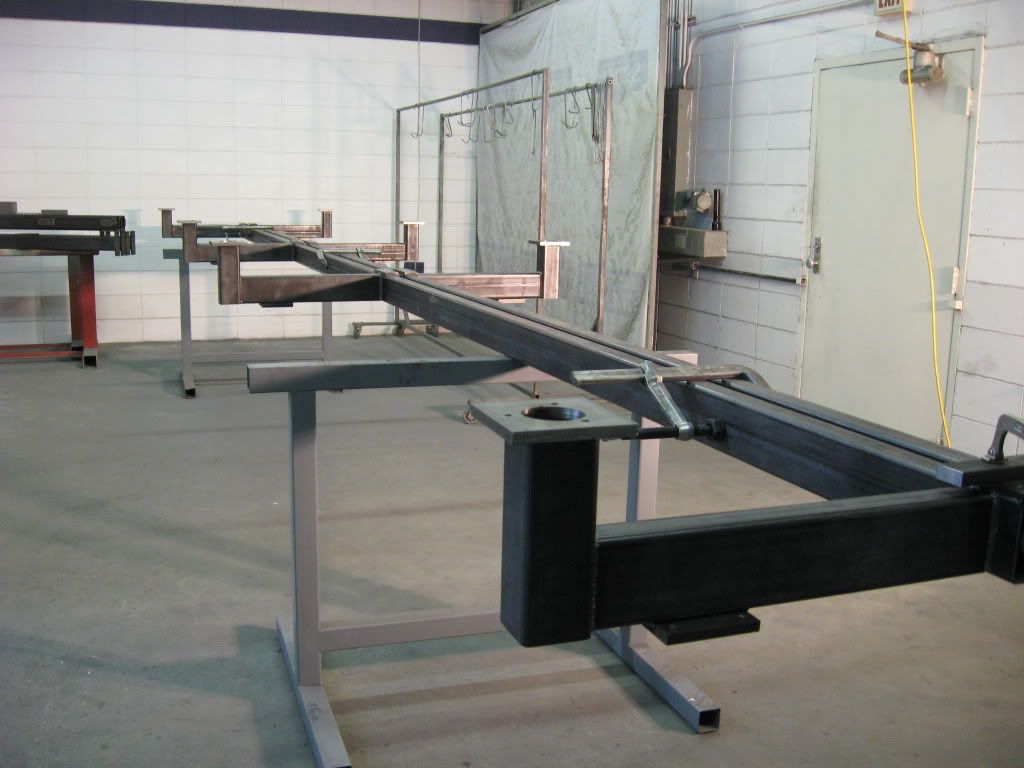
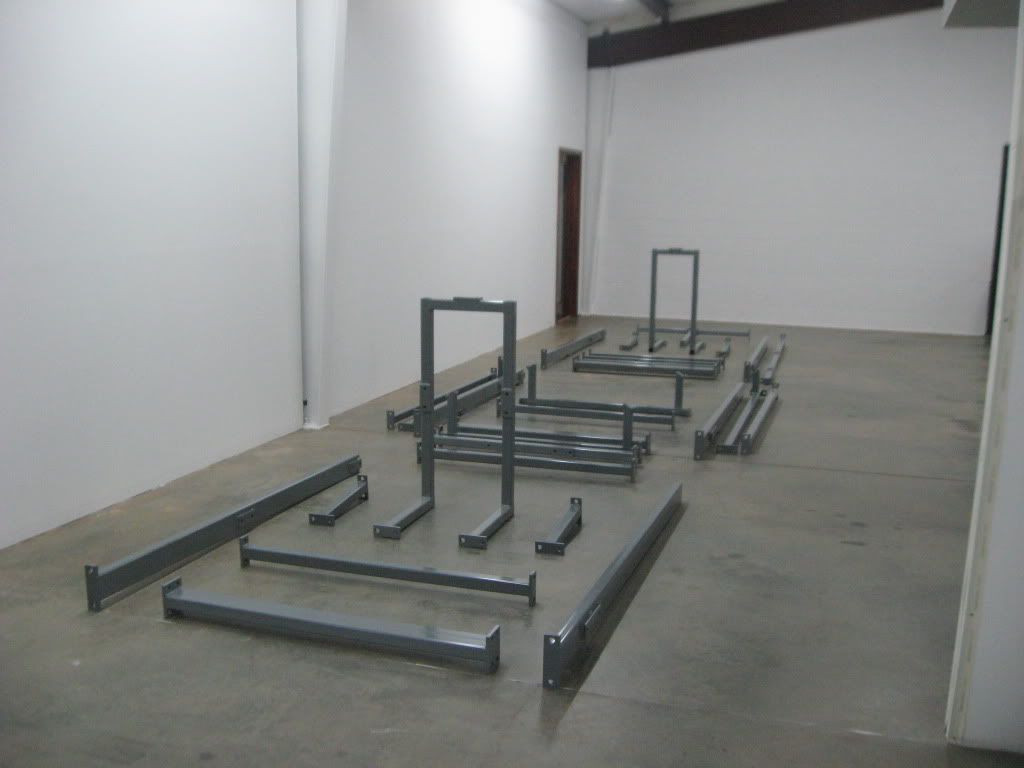
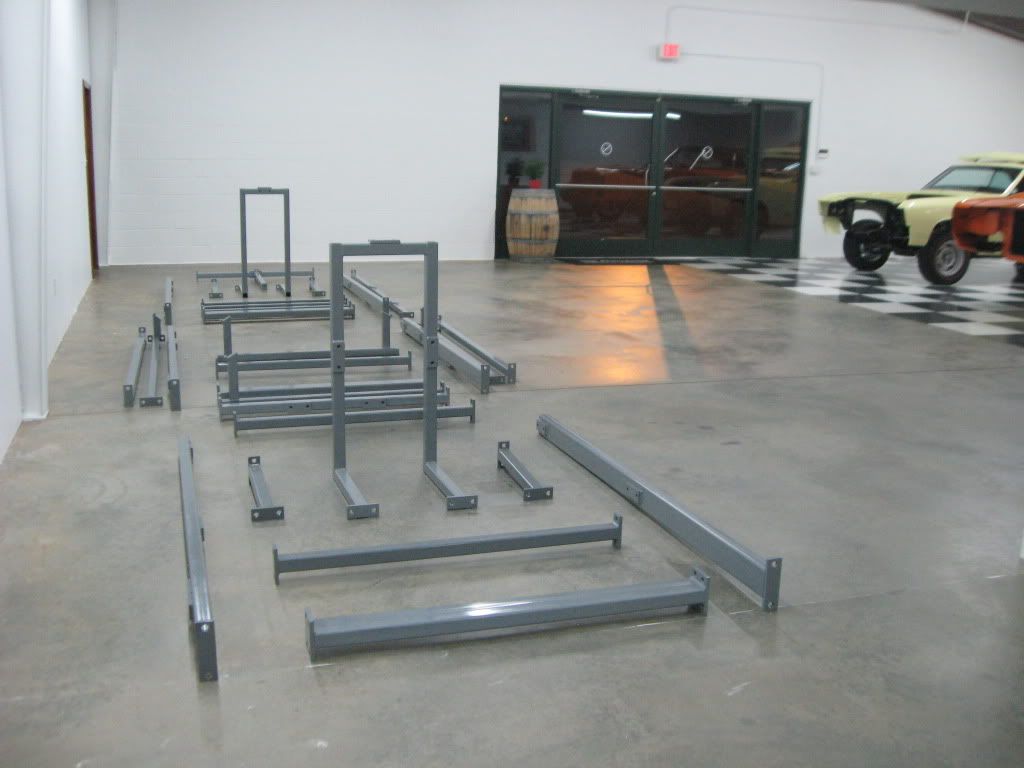
Been working on the jig today and now I am starting on station number.Tom can you make us a few more hour's in a day.
Re: Rebuild of B-17F 42-3455 "Lucky 13"
Posted: Thu Jan 17, 2013 8:46 am
by jmkendall
Ray, next to Tom you are my new B-17 Hero! Just don't tell Bill and Scott!
Seriously, that is an exciting project you are beginning. I recognize your name from when I restored Pontiac GTO's and Trans Am's. If this B-17 is of the same caliber then we are in for a treat!
Re: The start of Lucky 13
Posted: Fri Jan 18, 2013 3:21 am
by cvairwerks
A question for you Ray. How do you go about establishing your hard locations such as water line, butt line and fuselage station on things like the removable uprights? Weld the assembly up and mill off or shim at the mouting plate to get the correct location, or ??? I've got to build some jigs for some fuselage componets, though mine are small enough to use a big surface plate to set the jig. I know for the most part how we do it at work, but I don't have anywhere near the same capability at home.
Re: The start of Lucky 13
Posted: Sat Jan 19, 2013 6:25 am
by TAdan
Wonderful project Ray. I am impressed with how much you've accomplished so far. Looks like you are well on your way.
Re: The start of Lucky 13
Posted: Sun Jan 20, 2013 5:30 pm
by Lucky 13
Re: The start of Lucky 13
Posted: Tue Jan 22, 2013 6:15 am
by Lucky 13
Worked on station 2 last night and made a little head way on it.
Re: The start of Lucky 13
Posted: Fri Jan 25, 2013 6:07 pm
by Lucky 13
Been working on the two bottom runners for the jig they are 310 inches long
I have also been working on station 2.I will be working on the longerons cut out's next.
Re: The start of Lucky 13
Posted: Sun Jan 27, 2013 10:37 am
by hang the expense
Ray, I hope you have an idea what you are in for with how many clecos you will need when you start hanging sheet metal.Thousands and thousands and thousands...
Re: The start of Lucky 13
Posted: Sun Jan 27, 2013 4:25 pm
by Lucky 13
No clecos just nut's and bolt's with nylon washer's
Re: The start of Lucky 13
Posted: Sun Jan 27, 2013 6:33 pm
by 17f
Lucky 13 wrote:No clecos just nut's and bolt's with nylon washer's
i guarantee you that will get old fast.
Re: The start of Lucky 13
Posted: Sun Jan 27, 2013 7:20 pm
by Lucky 13
This is true but it keep's the piece's very tight together and it let's me see what the station is going to look like before I rivet . Also when I start to rivet the piece's together all I have to do is remove one bolt at a time and drill the right size hole and rivet it.
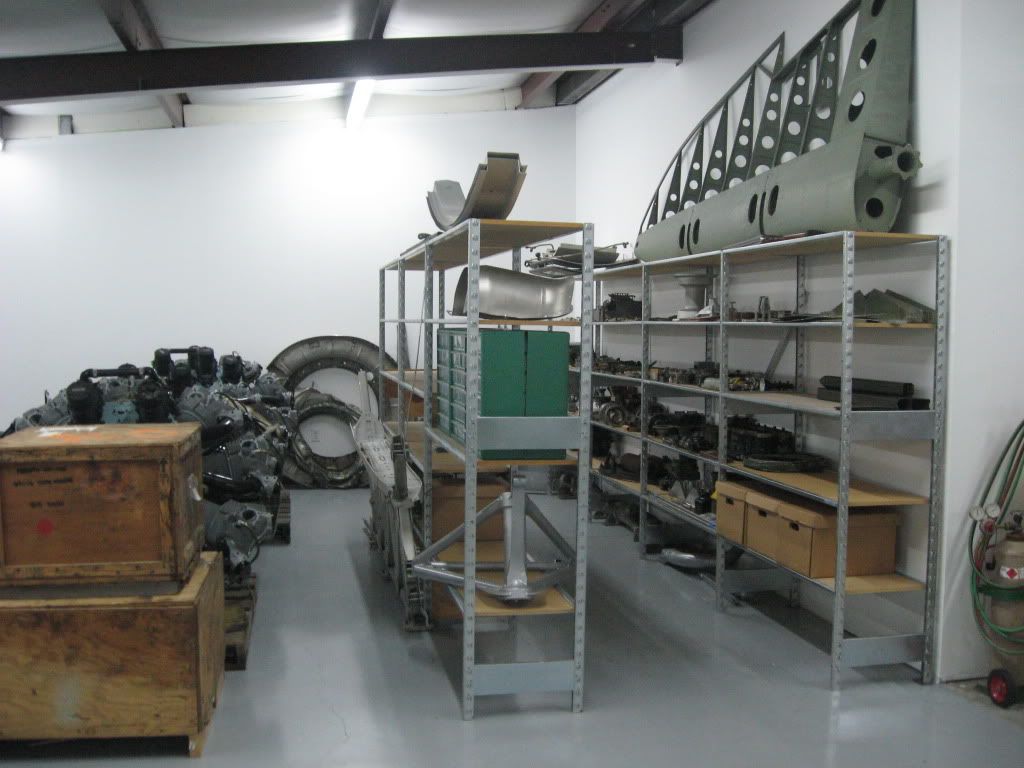
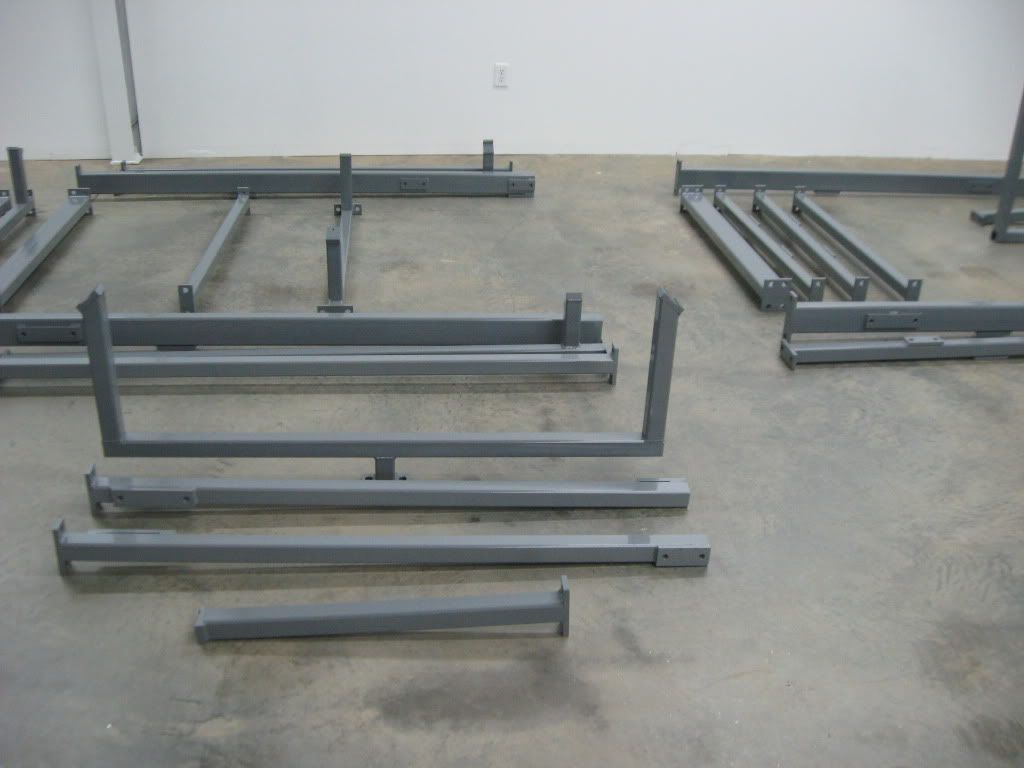
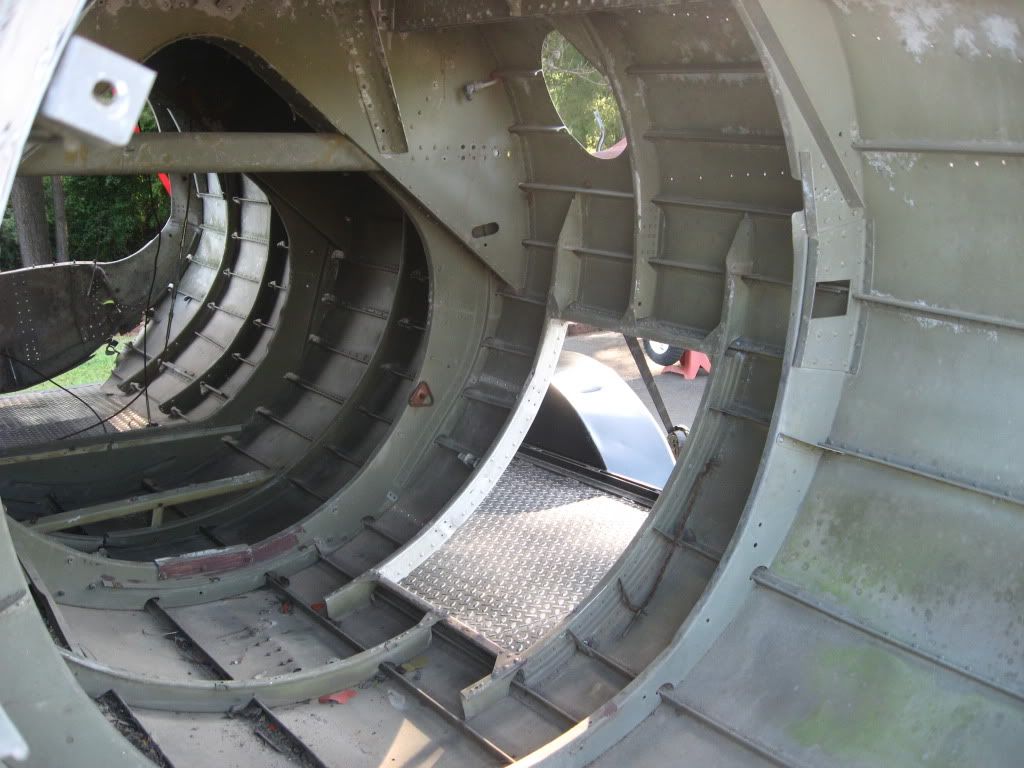
 Here are some photo's of the fuselage parts that I have pick up.This is what is left of 44-83316
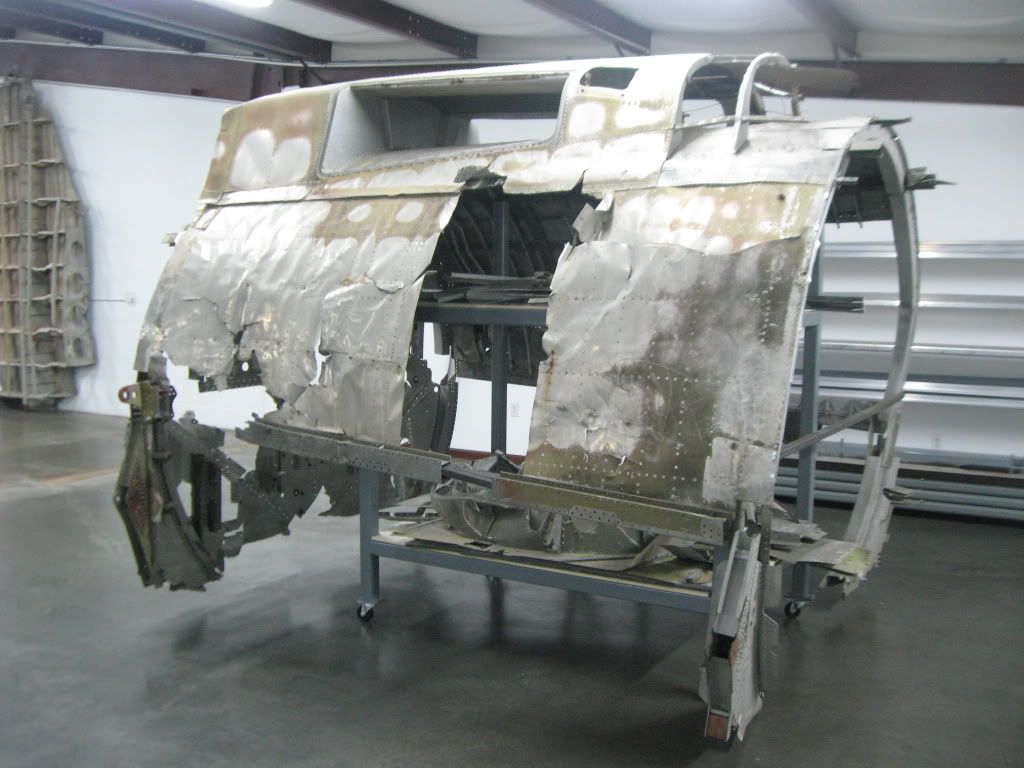
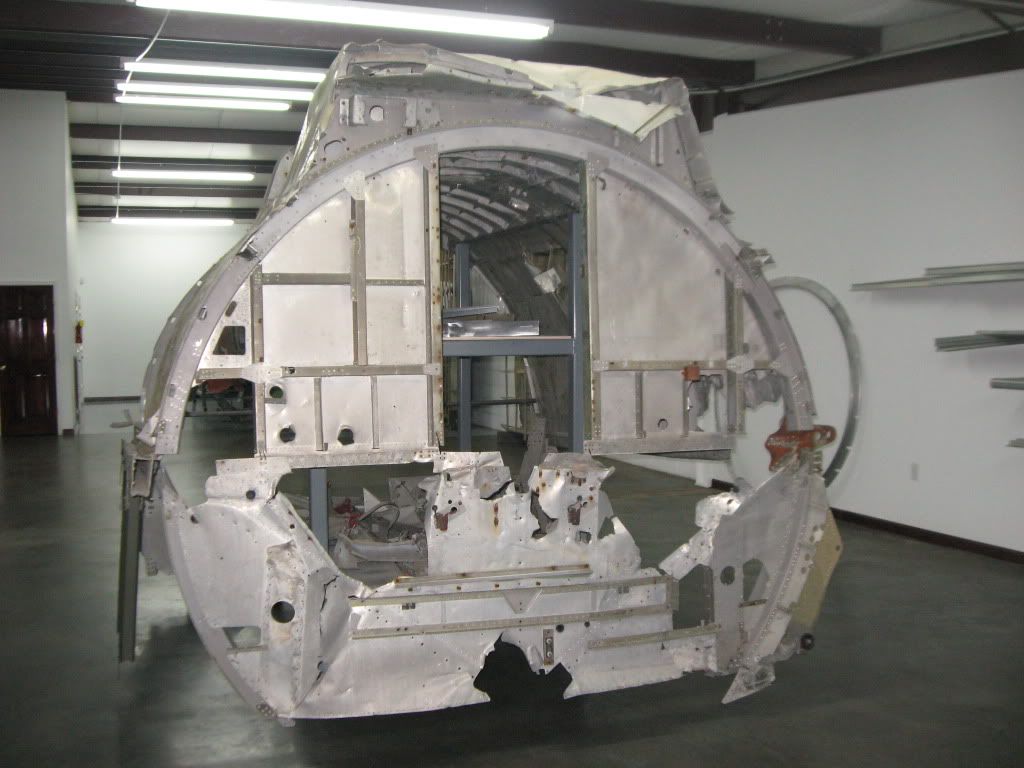
 Here is the tail of 44-85813
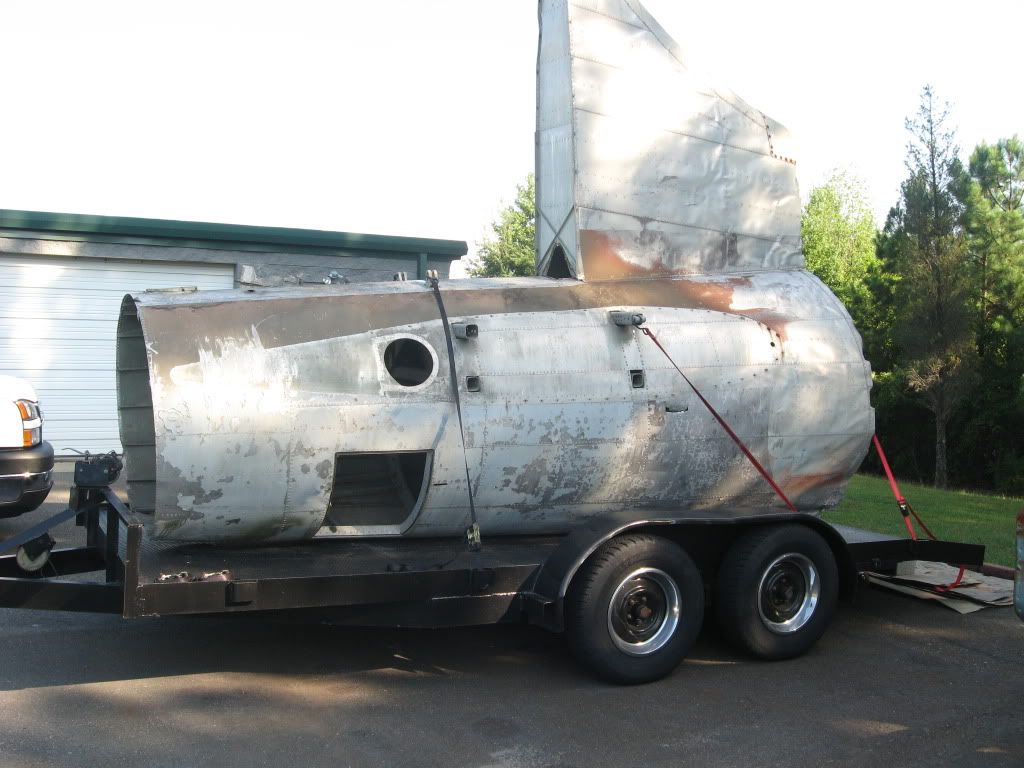

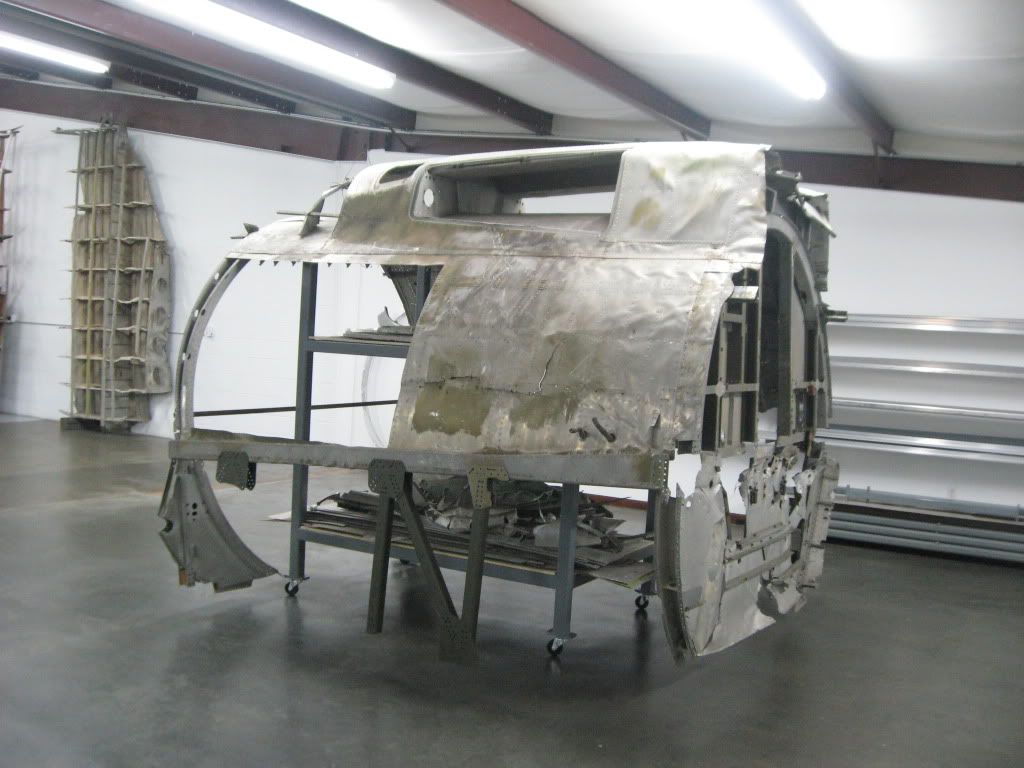
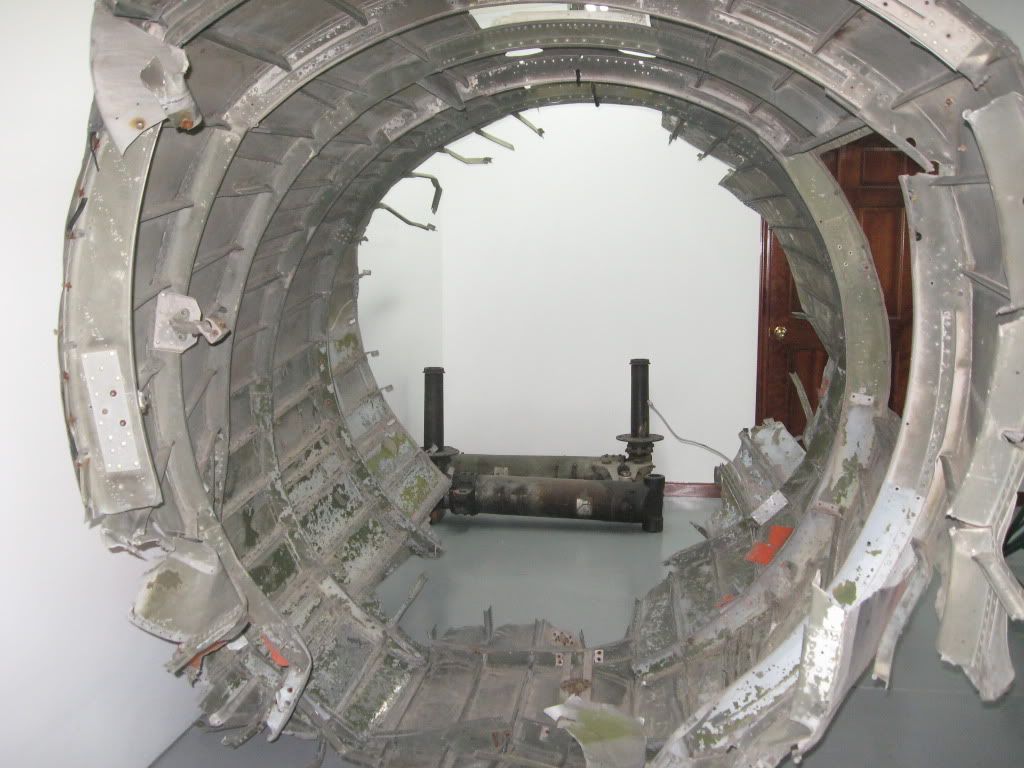
 and this piece is off of 44-83542
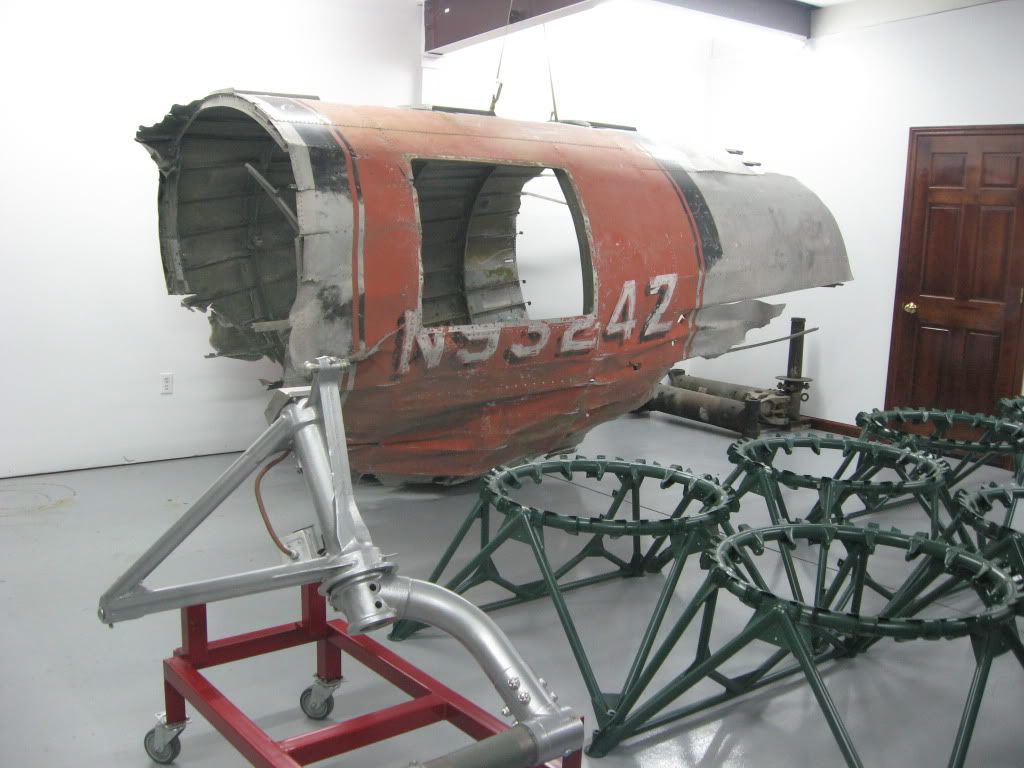
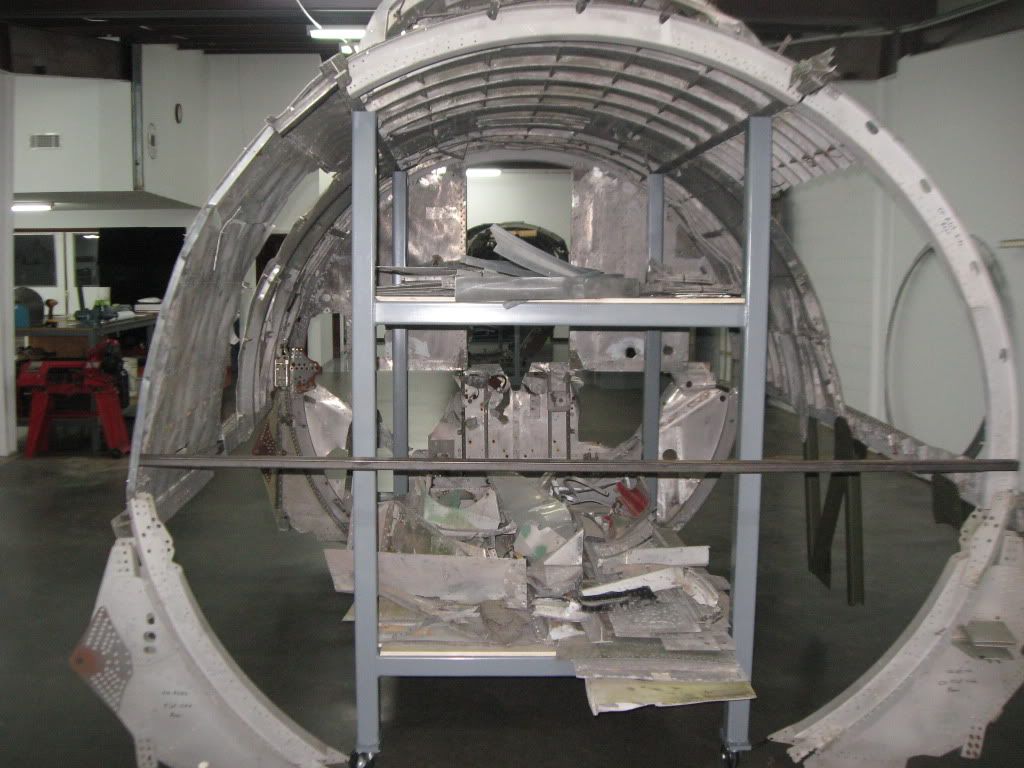
 and here are a few other things I have pick up