2004 Labrador B-17 clean and disassembly
-
Chuck Giese
- Posts: 73
- Joined: Thu Nov 17, 2005 9:06 pm
2004 Labrador B-17 clean and disassembly
Back in November 2004, Mike Kellner and I went to Douglas (I didn't move here until 2006) to help disassemble the Labrador B-17. I had posted these pictures to a web site that no longer exists. So, with Scott's permission, I'll repost them here. This was the earlier days of the interwebs, so they are low res pictures, along with the original captions.
If you are interested, the history of the airplane and its recovery is at: http://nwrain.net/~newtsuit/b17labrador/
Enjoy.
Chuck
If you are interested, the history of the airplane and its recovery is at: http://nwrain.net/~newtsuit/b17labrador/
Enjoy.
Chuck
Last edited by Chuck Giese on Sat Dec 01, 2012 8:07 pm, edited 1 time in total.
Chuck Giese
-
Chuck Giese
- Posts: 73
- Joined: Thu Nov 17, 2005 9:06 pm
Re: 2004 Labrador B-17 clean and disassembly
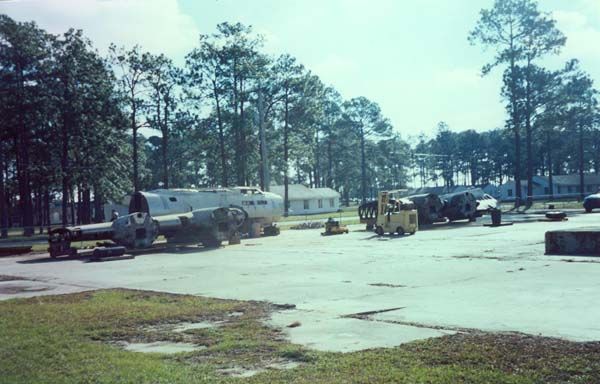
The Labrador B-17 work site. We worked on the fuselage and the inboard wing panels that you see here. It was a beautiful location.
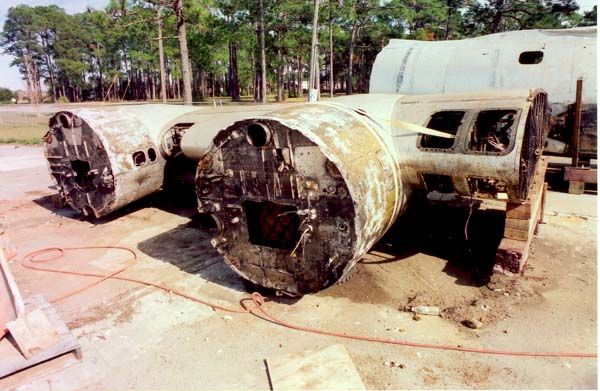
The right wing as it came off of the truck from Canada. Our job was to remove everything from inside the wing and nacelles, and then clean out all of the dirt.
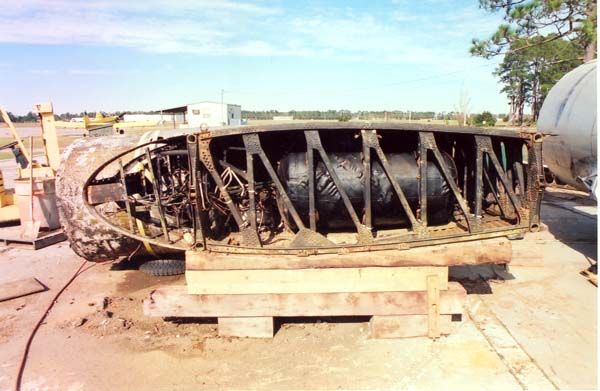
Looking at the wing root, you can see the fuel tanks, wiring, tubing, etc.
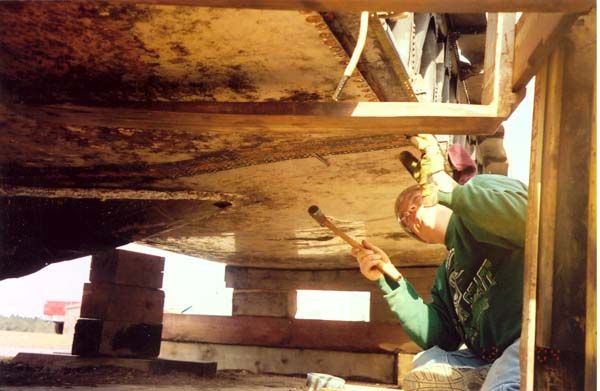
Start by unscrewing/punching/drilling out the screws holding the stress panels in place.
The panel is persuaded to break free, and drops onto the forks.

The right wing as it came off of the truck from Canada. Our job was to remove everything from inside the wing and nacelles, and then clean out all of the dirt.

Looking at the wing root, you can see the fuel tanks, wiring, tubing, etc.

Start by unscrewing/punching/drilling out the screws holding the stress panels in place.

The panel is persuaded to break free, and drops onto the forks.

-
Chuck Giese
- Posts: 73
- Joined: Thu Nov 17, 2005 9:06 pm
Re: 2004 Labrador B-17 clean and disassembly
Use the forklift to rotate tank, & out it comes.
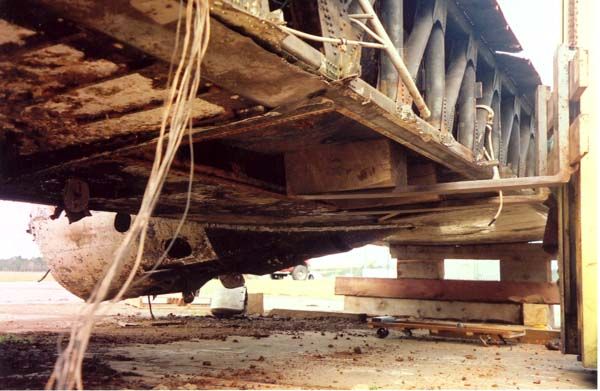
One tank down.... The major structure of the wing is in very good shape. Spots of corrosion where the mussles attacked the thinner metal, but we saw no major damage to the ribs or corrigated skin. Very good condition for 57 years under water.
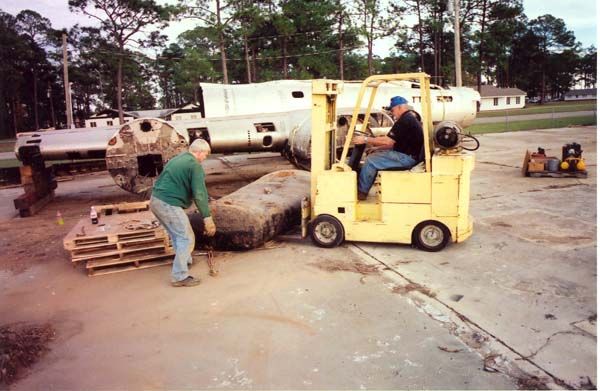
Mike and Jim moving the fuel tank. The tanks were in very good condition, considering how long they had been under water. They were still flexible.
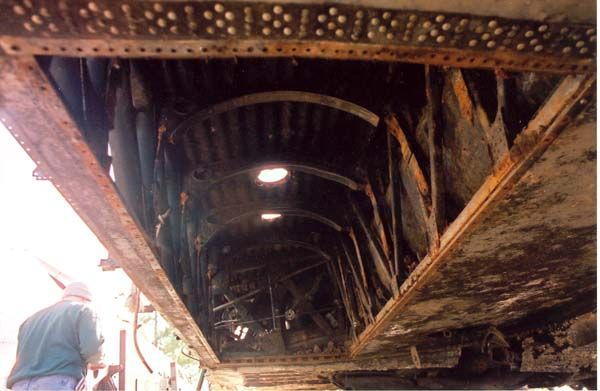
Next we removed the forward tank. You can see the duct work and intercooler. Most (but not all) of the steel fasteners had turned into a ball of powdered rust.
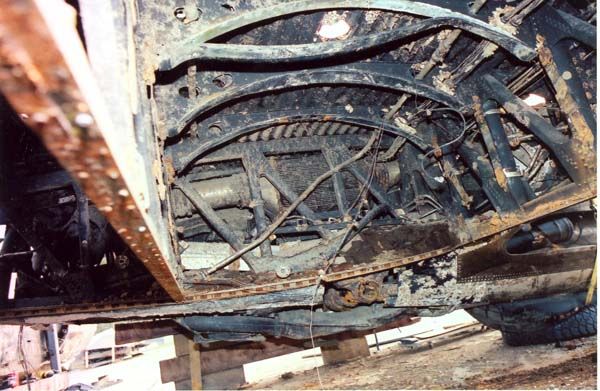
We left the inboard tank for last. It required a fair amount of persuation before it dropped out.
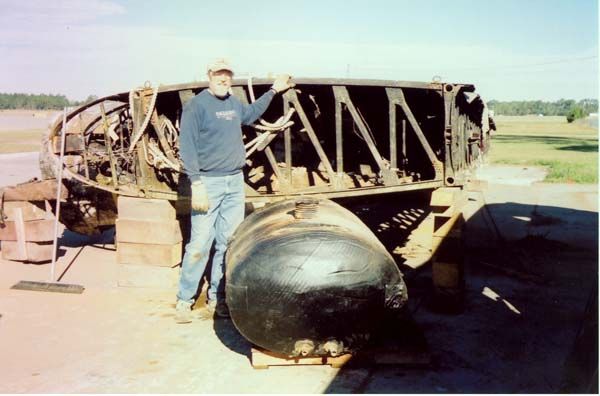

One tank down.... The major structure of the wing is in very good shape. Spots of corrosion where the mussles attacked the thinner metal, but we saw no major damage to the ribs or corrigated skin. Very good condition for 57 years under water.

Mike and Jim moving the fuel tank. The tanks were in very good condition, considering how long they had been under water. They were still flexible.

Next we removed the forward tank. You can see the duct work and intercooler. Most (but not all) of the steel fasteners had turned into a ball of powdered rust.

We left the inboard tank for last. It required a fair amount of persuation before it dropped out.

-
Chuck Giese
- Posts: 73
- Joined: Thu Nov 17, 2005 9:06 pm
Re: 2004 Labrador B-17 clean and disassembly
A good view of the internal ductwork. You could grab a piece and shake it free. The only part of the disassembly that went easy.
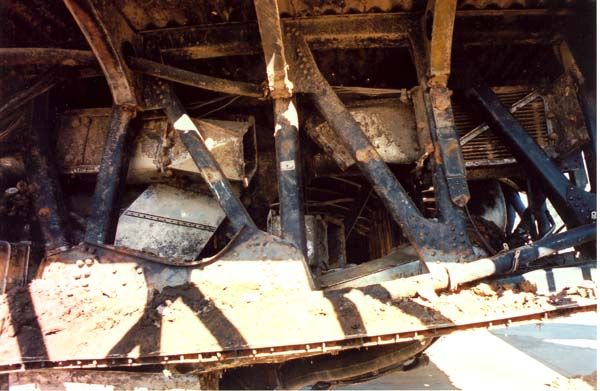
After the duct work was out of the way, we dropped the turbocharger.
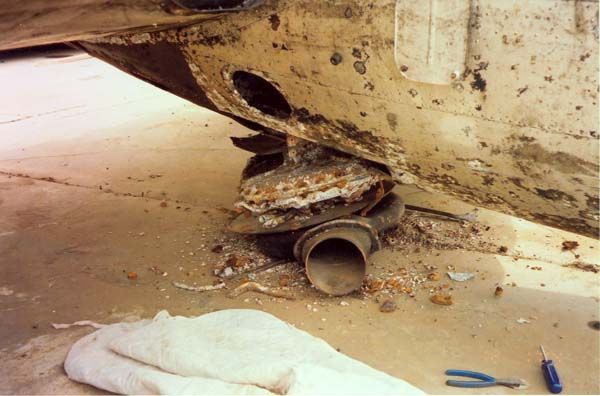
Once the Tokyo tanks were removed, it's back to removing the dirt by digging and vacuuming it out. Access was a wee bit tight.
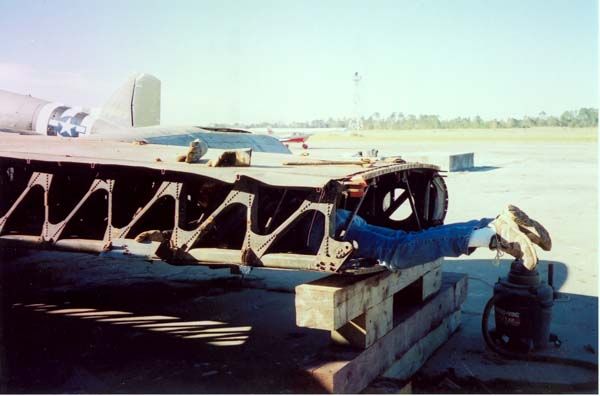
Next it was time to lower the landing gear so that we could remove the wheels and gear. One of the tubes was corroded through, so on this wing it was just a matter of breaking it free. On the left wing, we had to disassemble the gear through the upper access panel. Ugh!
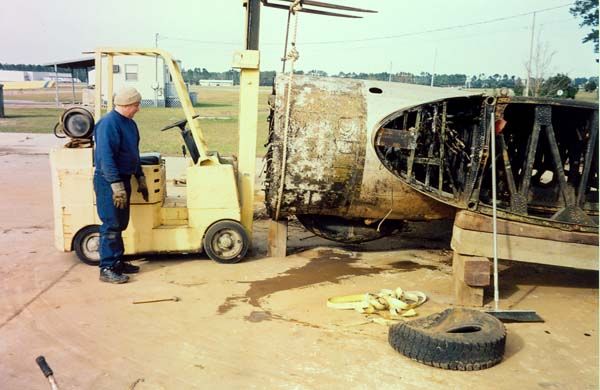

After the duct work was out of the way, we dropped the turbocharger.

Once the Tokyo tanks were removed, it's back to removing the dirt by digging and vacuuming it out. Access was a wee bit tight.

Next it was time to lower the landing gear so that we could remove the wheels and gear. One of the tubes was corroded through, so on this wing it was just a matter of breaking it free. On the left wing, we had to disassemble the gear through the upper access panel. Ugh!

Last edited by Chuck Giese on Sat Dec 01, 2012 8:09 pm, edited 1 time in total.
-
Chuck Giese
- Posts: 73
- Joined: Thu Nov 17, 2005 9:06 pm
Re: 2004 Labrador B-17 clean and disassembly
A little work with a pry bar, and down it came.
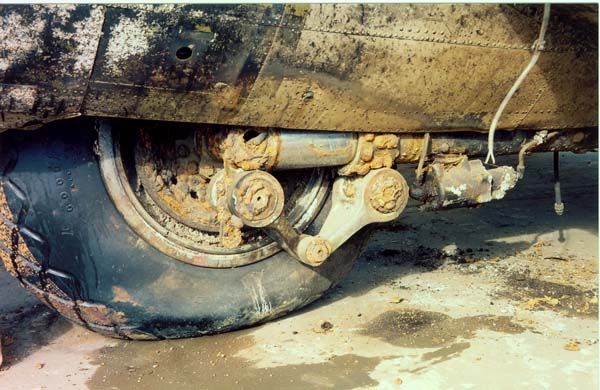
After looking at it for a while, we decided that the easiest way to take this apart was to remove the landing gear and wheel as one unit.
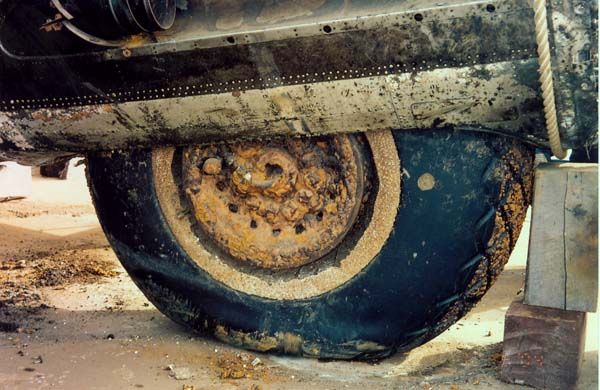
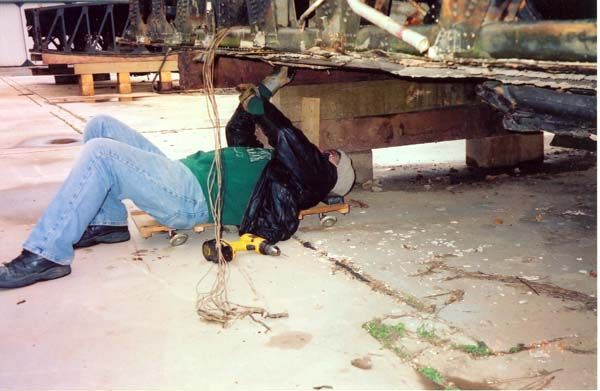
Mike psyching himself up to go work on the landing gear bolts again. Dirty, nasty work. Eye protection was definitely needed as we were working upside down removing rusted bolts.
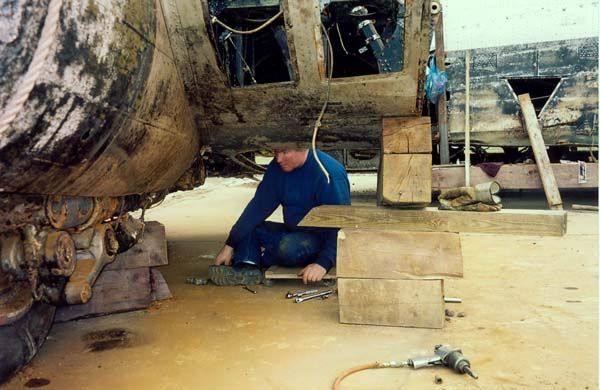
Time to remove the Landing gear. We started with the left wing, since most of those bolts came out cleanly, only a handful had to be chiseled off.
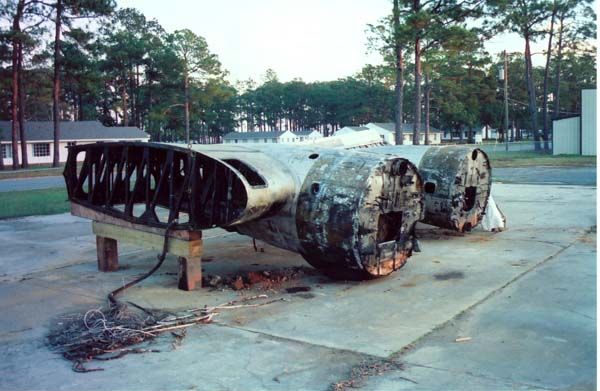
We thought that the gear would fall off under their own weight. Nope, time for plan B.
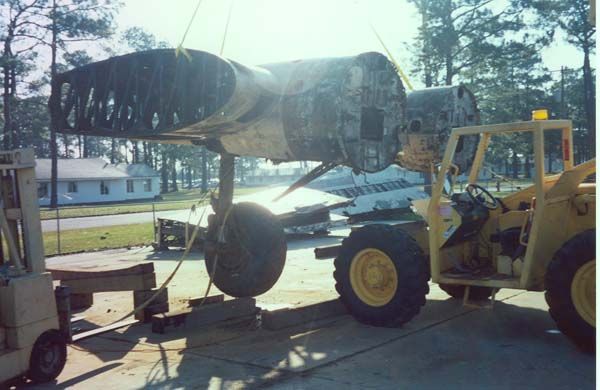
Added a little man power, and tried to shake the gear free. Still no go. Time for plan C...
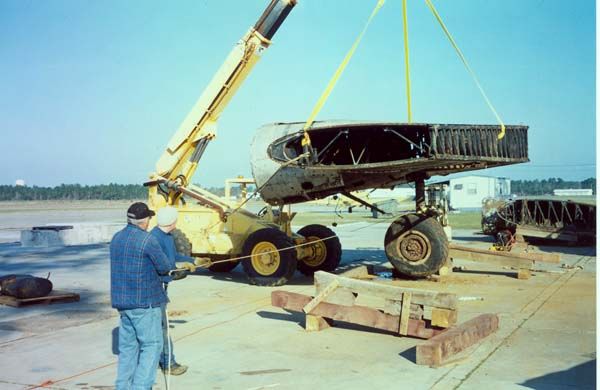
So, we set it back down on the blocks, and Mike started to work the gear free from the remaining studs.
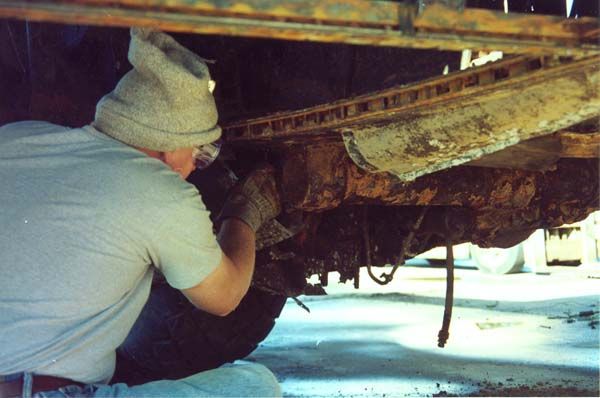
That worked. One lift from the Pettibone, and the gear dropped down. Pulled it out with the forklift, and everyone is smiling.
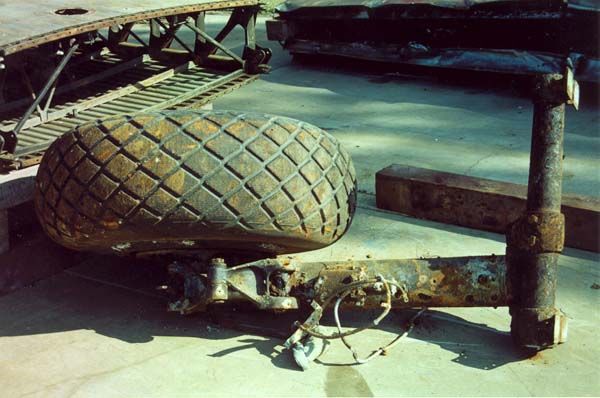

After looking at it for a while, we decided that the easiest way to take this apart was to remove the landing gear and wheel as one unit.

Mike psyching himself up to go work on the landing gear bolts again. Dirty, nasty work. Eye protection was definitely needed as we were working upside down removing rusted bolts.

Time to remove the Landing gear. We started with the left wing, since most of those bolts came out cleanly, only a handful had to be chiseled off.

We thought that the gear would fall off under their own weight. Nope, time for plan B.

Added a little man power, and tried to shake the gear free. Still no go. Time for plan C...

So, we set it back down on the blocks, and Mike started to work the gear free from the remaining studs.

That worked. One lift from the Pettibone, and the gear dropped down. Pulled it out with the forklift, and everyone is smiling.

-
Chuck Giese
- Posts: 73
- Joined: Thu Nov 17, 2005 9:06 pm
Re: 2004 Labrador B-17 clean and disassembly
Now that we know what we're doing, the right wing went much easier. Attach the straps...
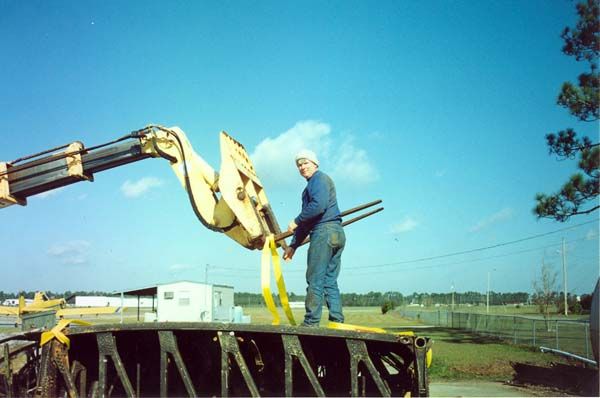
... Lift it up, gear falls off ....
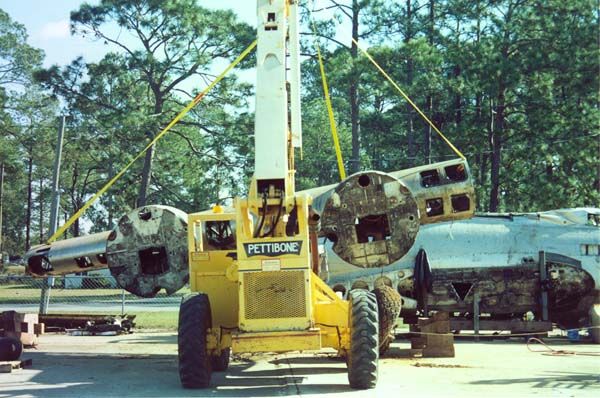
... Chuck guides it back down into place ...
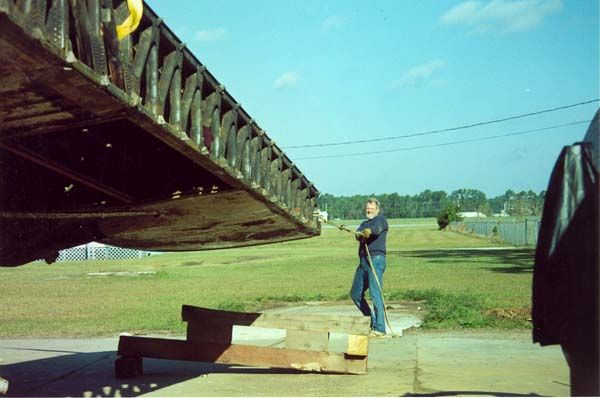
... And return the Pettibone, We're done with this task!!!
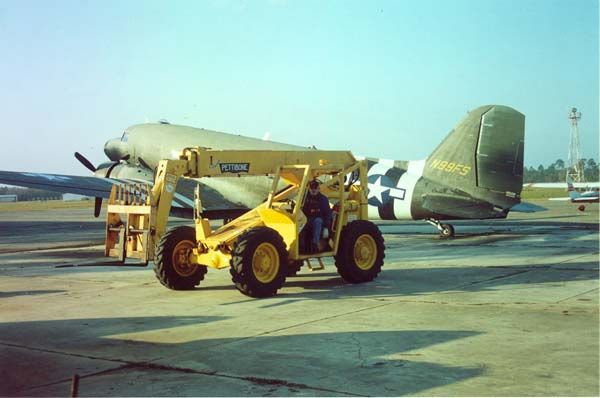

... Lift it up, gear falls off ....

... Chuck guides it back down into place ...

... And return the Pettibone, We're done with this task!!!

-
Chuck Giese
- Posts: 73
- Joined: Thu Nov 17, 2005 9:06 pm
Re: 2004 Labrador B-17 clean and disassembly
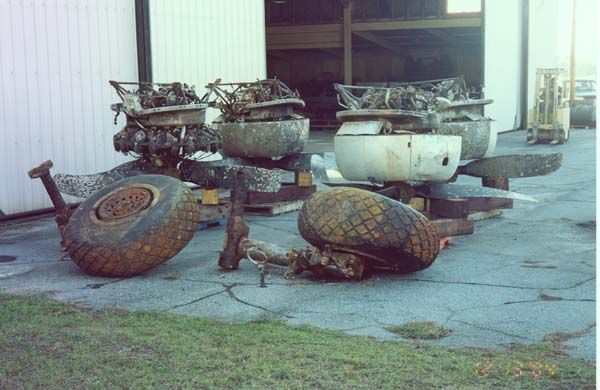
Landing gear and engines waiting to go to the storage building.
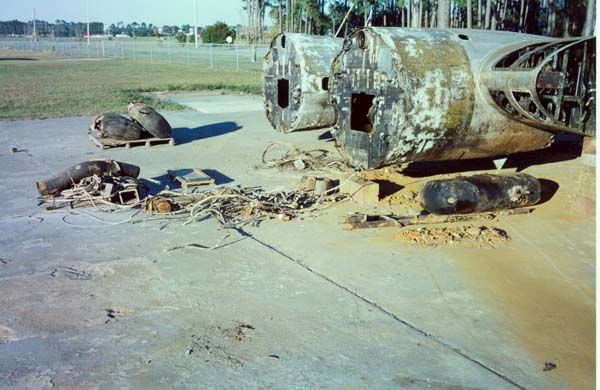
Once the gear was out, it was time to strip the nacelles. The oil tank and the pile in front all came out of Nacelle #3.
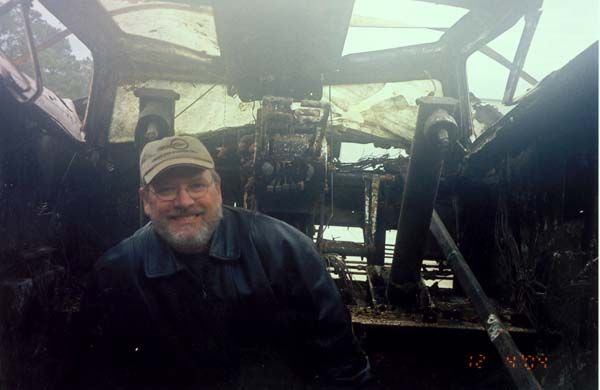
Chuck inside the cockpit, before we removed the throttle quadrent and the control columns. They say that the camera adds 10 pounds. I must have had 3 or 4 with me this day
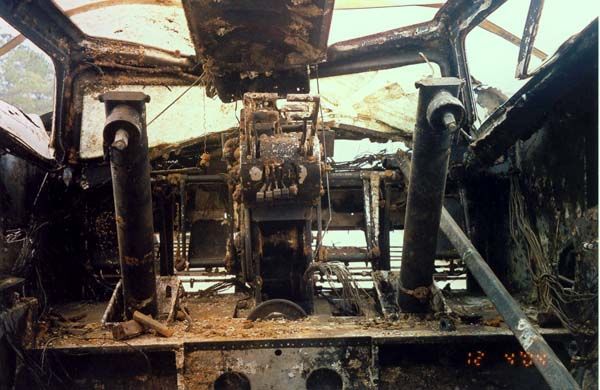
Interior view of the cockpit
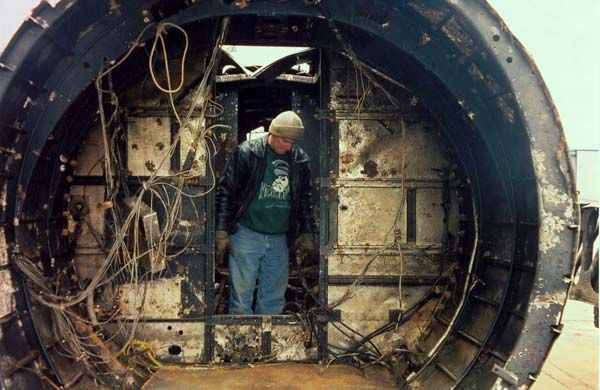
Mike surveying the radio room before we start removing the waist section.
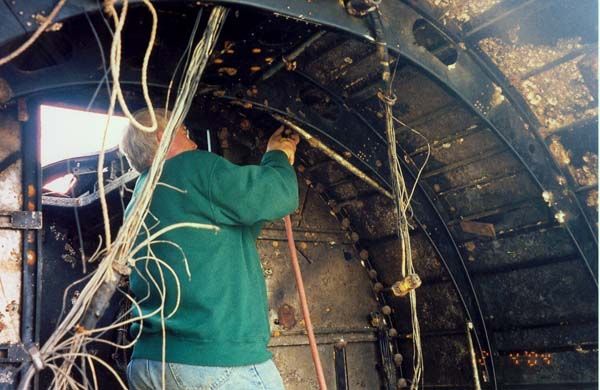
Mike starting the process of removing the waist section
At this point, the connecting bolts are gone. We just need to punch out a few more rivets, and we're ready to pull the waist section off.
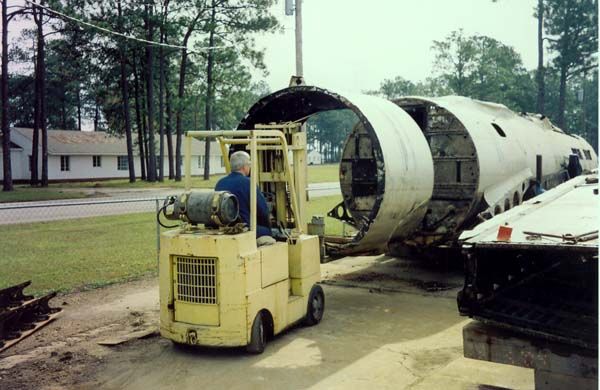
Since everything aft of the Ball Turret was either missing or cut off for transport, the remainder fit easily on the fork lift.
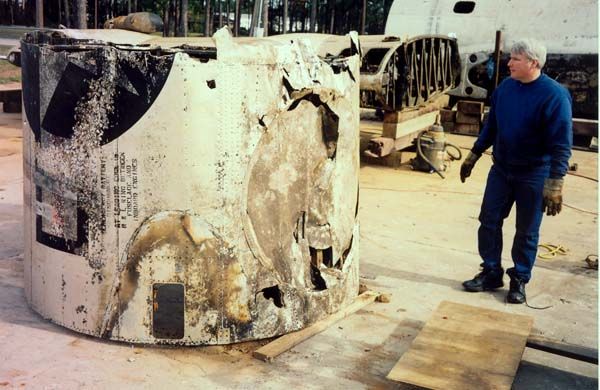
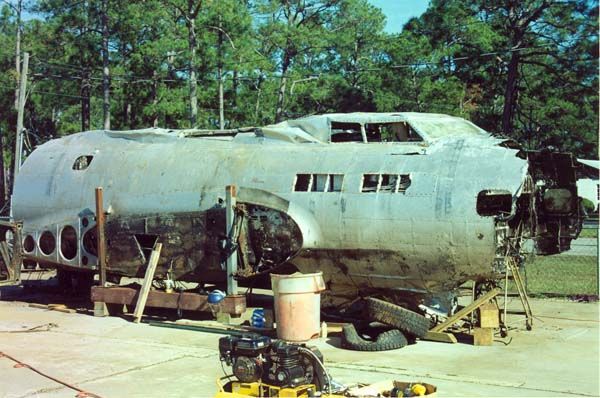
The circle is the patch over the Ball Turret opening. You can see the damage done as the plane moved along the river bed over the years. A fair amount of rocks and silt came out of this section.
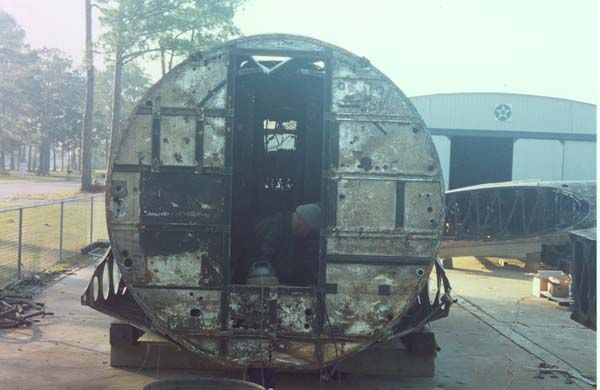
Mike cleaning out the radio room. There were 4 to 5 inches of dirt on the floor - we would scape out what we could get at, and then use the vacuum to get the remainder.
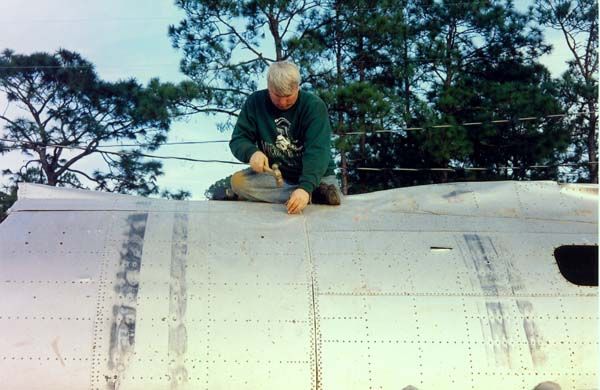
The last thing we did on the fuselage was to raise the turtle deck over the cockpit. Now it's starting to look familiar.
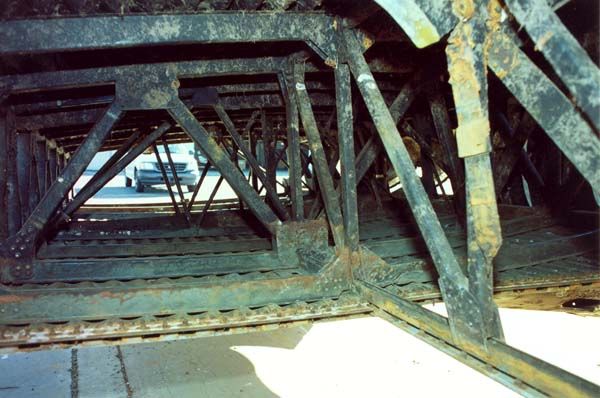
Final pictures before we left. Interior of inboard section of left wing. Photo taken from inside fuel tank opening between nacelles1 and 2

Once the gear was out, it was time to strip the nacelles. The oil tank and the pile in front all came out of Nacelle #3.

Chuck inside the cockpit, before we removed the throttle quadrent and the control columns. They say that the camera adds 10 pounds. I must have had 3 or 4 with me this day

Interior view of the cockpit

Mike surveying the radio room before we start removing the waist section.

Mike starting the process of removing the waist section

At this point, the connecting bolts are gone. We just need to punch out a few more rivets, and we're ready to pull the waist section off.

Since everything aft of the Ball Turret was either missing or cut off for transport, the remainder fit easily on the fork lift.

The circle is the patch over the Ball Turret opening. You can see the damage done as the plane moved along the river bed over the years. A fair amount of rocks and silt came out of this section.

Mike cleaning out the radio room. There were 4 to 5 inches of dirt on the floor - we would scape out what we could get at, and then use the vacuum to get the remainder.

The last thing we did on the fuselage was to raise the turtle deck over the cockpit. Now it's starting to look familiar.

Final pictures before we left. Interior of inboard section of left wing. Photo taken from inside fuel tank opening between nacelles1 and 2

-
Chuck Giese
- Posts: 73
- Joined: Thu Nov 17, 2005 9:06 pm
Re: 2004 Labrador B-17 clean and disassembly
And that was about it for the first trip. There was one interruption for a couple of days when we went down to Kissimee, Fl to watch the maiden flight of the Liberty Belle.
Mike and I did come back in January of '05 to clean out the fuselage and outboard wings. I have pictures, but never bothered to post them. Some day.....
We also came down for a long weekend in Feb '05 to help outfit Liberty Belle. That was documented by Randy Haskin on WIX: http://warbirdinformationexchange.org/p ... f=3&t=2756
Chuck
Chuck Giese
Re: 2004 Labrador B-17 clean and disassembly
Thanks for posting the photos Chuck
Keep the show on the road.
Re: 2004 Labrador B-17 clean and disassembly
WOW! Those Labrador photos are great. I don't think I ever saw them before. Thank you for posting them. The photos of "The Liberty Belle" almost make me cry, seeing how great she looked back then, and then knowing how she ended up. At least we have the photos and memories.